
Flat Pack Wardrobe Assembly in Watford: Step by Step
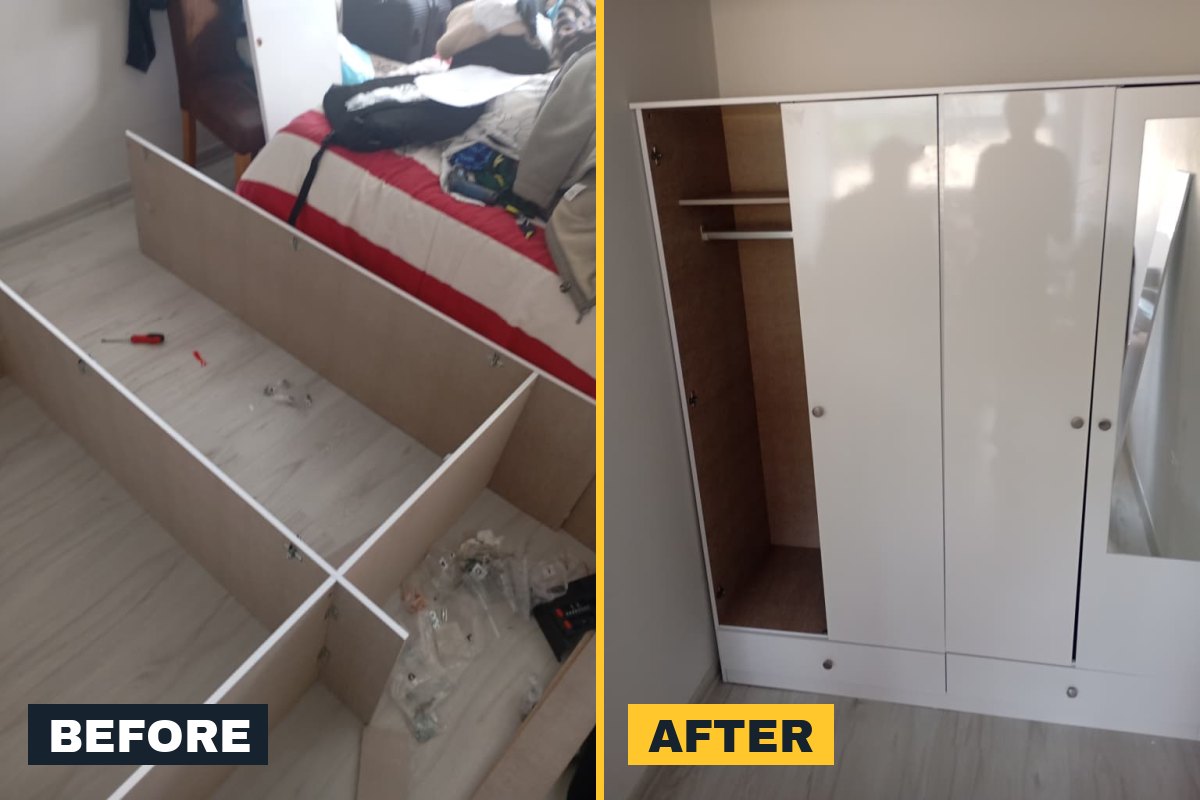
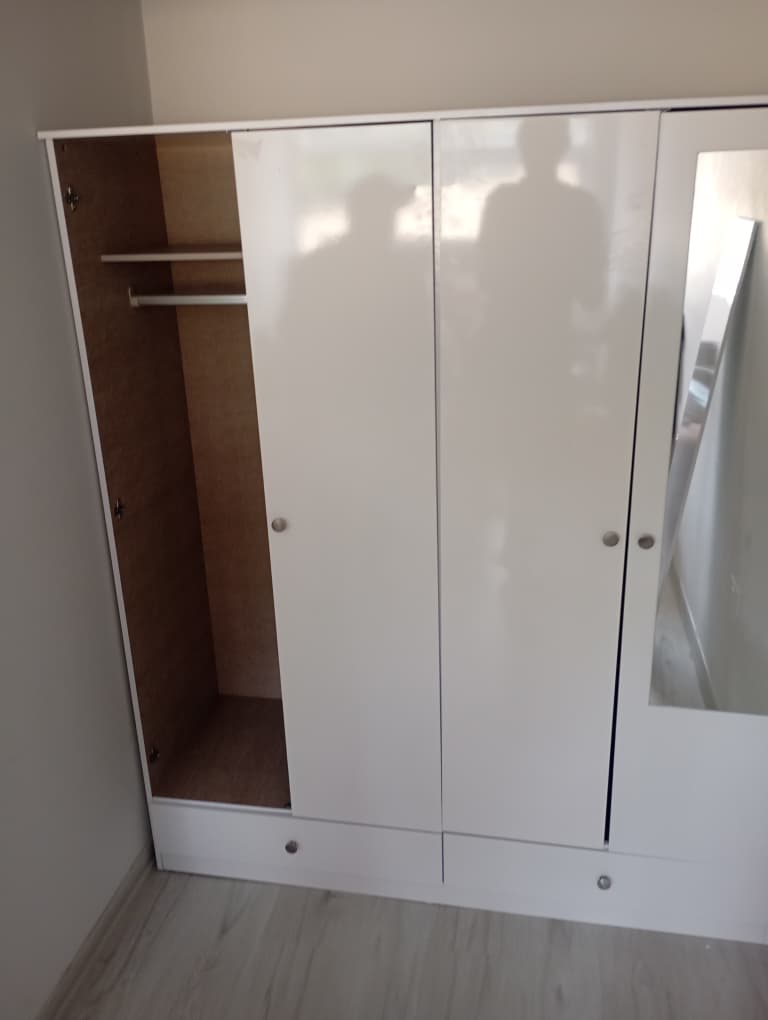
A large white wardrobe arrived flat packed and needed building. This case study follows the build from panels laid out on the bedroom floor to a finished three-door wardrobe with a mirrored door, hanging rail and two bottom drawers, built on site in the room where it now stands.
- Service
- Flat pack furniture assembly
- Item
- Large three-door wardrobe with mirrored door, hanging rail and two drawers
- Location
- Watford, Hertfordshire
- Built
- On site, in the bedroom
- Evidence
- 8 photos from panels to finished wardrobe
Wardrobes are the flat pack job people most often give up on halfway. They are big, the panels are heavy and awkward to handle, and one panel fitted the wrong way round early on can mean taking half the build apart again. Here is how our fitter put this one together, step by step. Click any photo to open it full size.
01Laying out the panels and fixings
Before a single screw goes in, every panel comes out of the boxes and is laid out on the floor, with the fixings sorted and checked against the instruction booklet. It takes a few minutes, but finding a missing cam lock or a damaged panel at the start is far better than finding it two hours in.
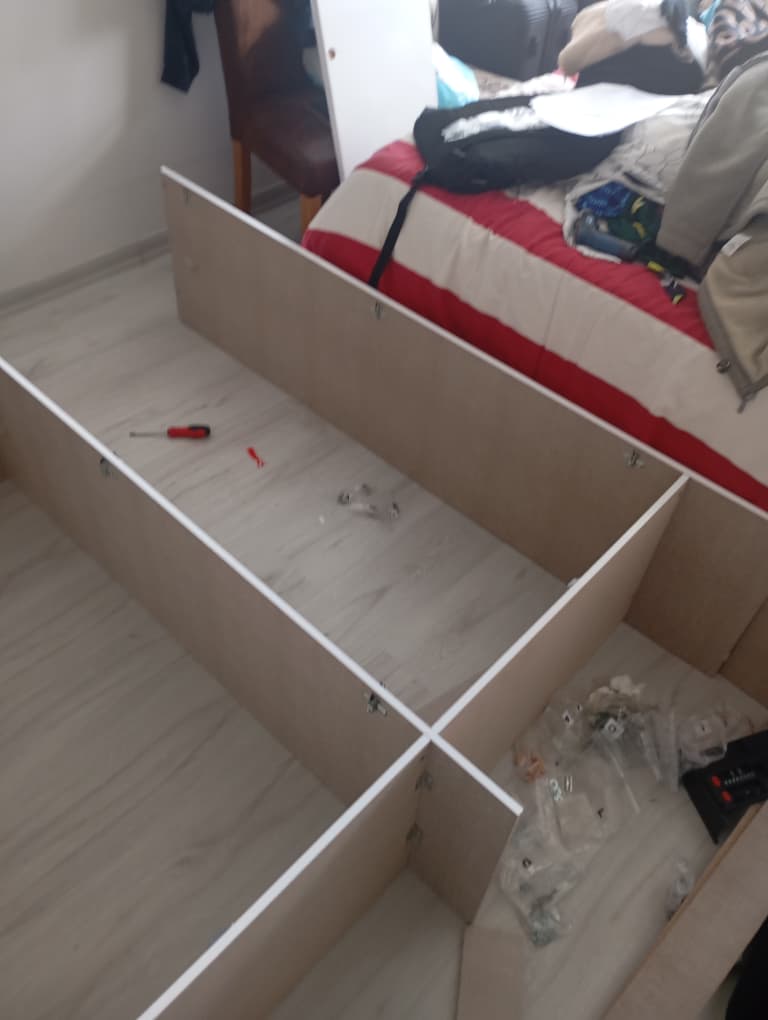
02Building the carcass
The main body of the wardrobe, the carcass, is built first with the sides, top, base and centre divider joined using dowels and cam-lock fittings. Each cam is turned until it pulls the joint tight, but not so far that it strips the chipboard. This is the stage that decides whether the finished wardrobe stands square.
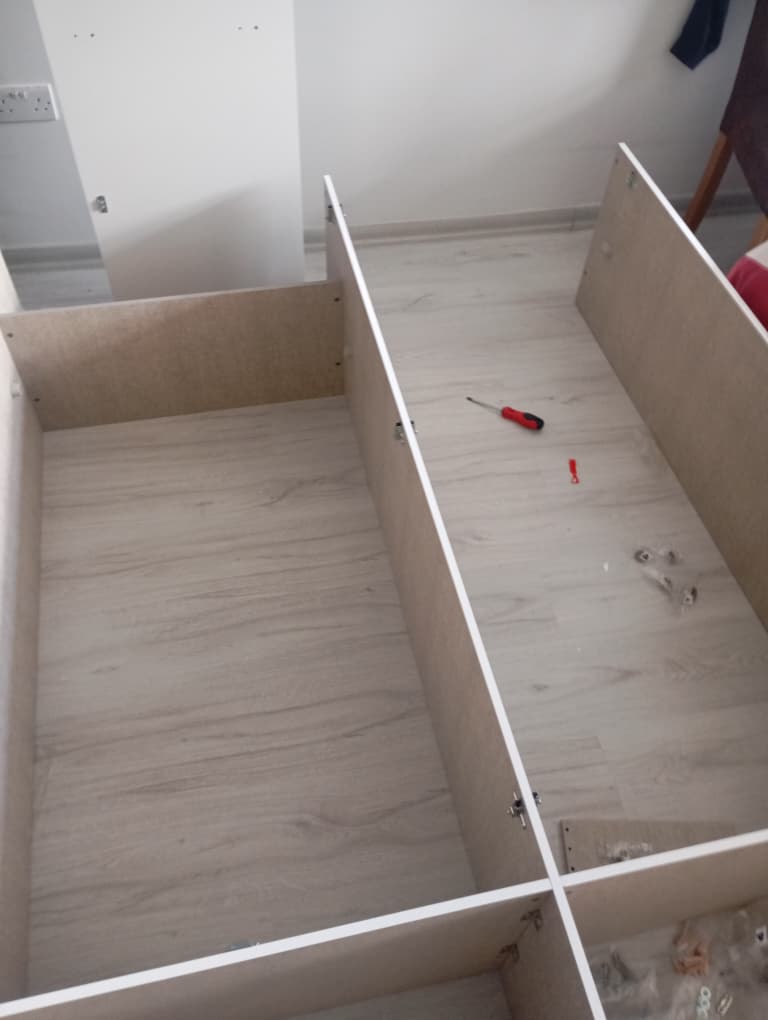
03Fitting the hanging rail
With the carcass together, the hanging rail is fitted between its brackets. It is much easier to do now, with clear access to the inside, than once the back board and doors are on.
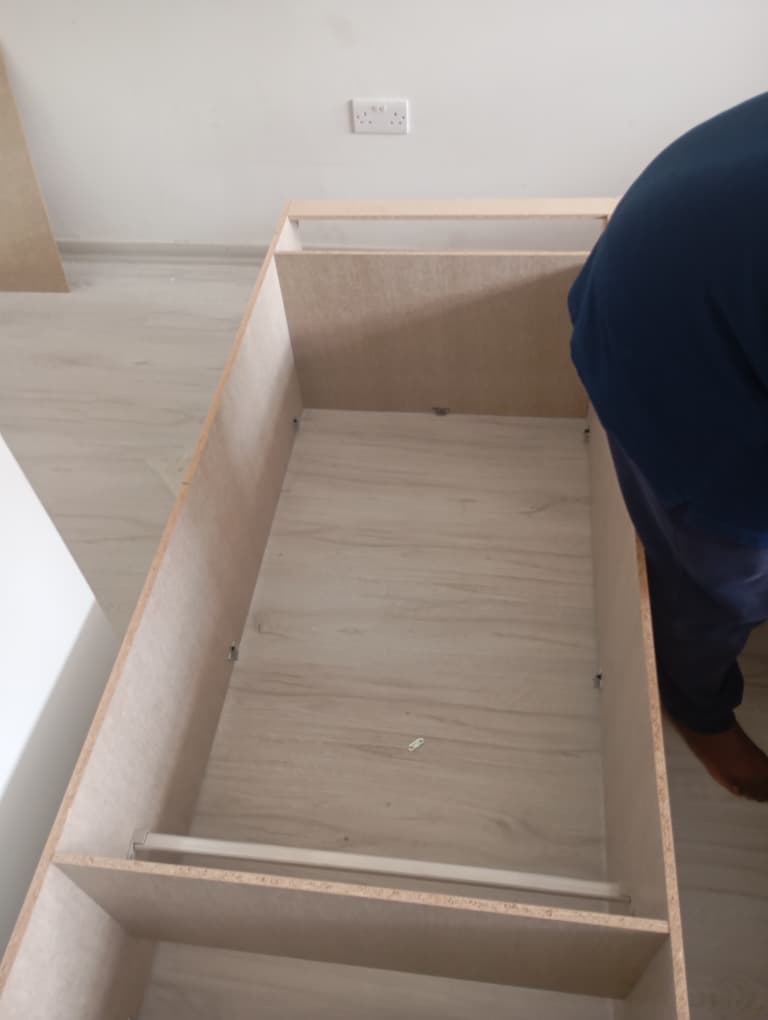
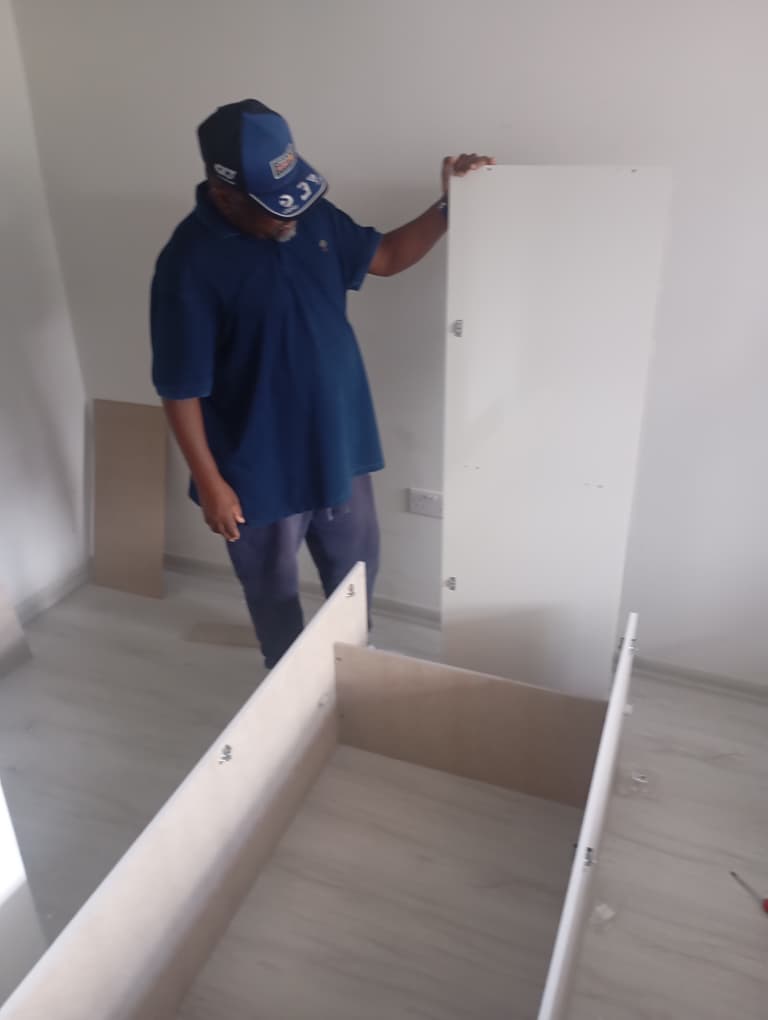
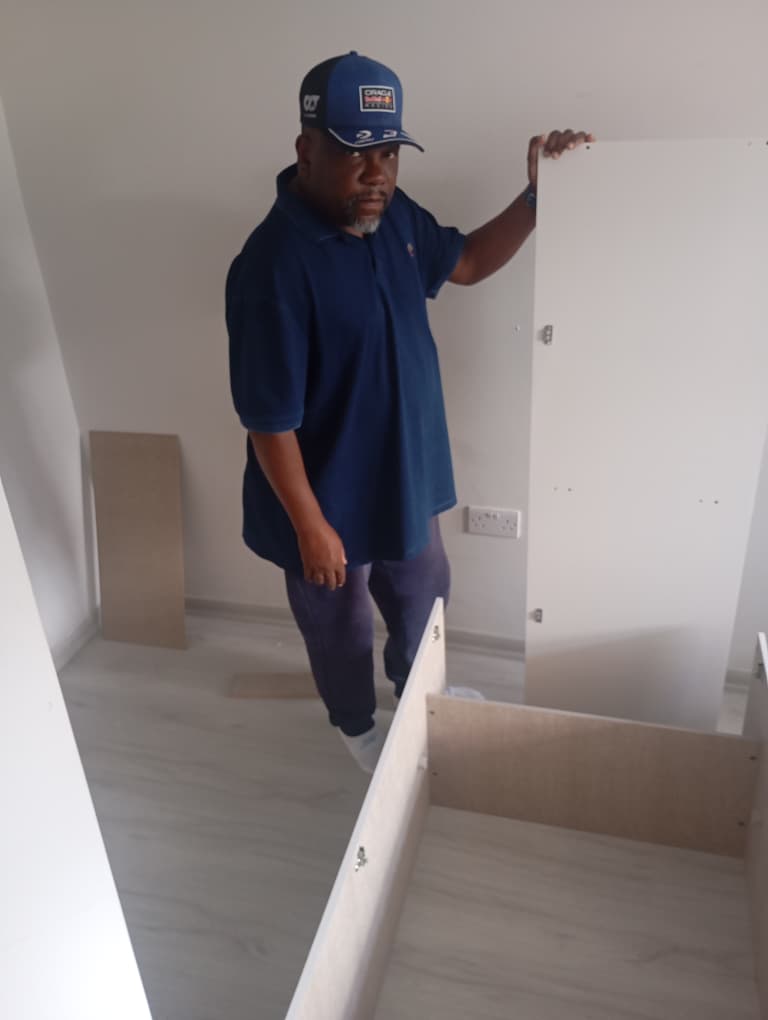
04Handling the tall panels
Full-height wardrobe panels are long and heavy, and in a bedroom there is rarely much room to move them. Our fitter lifts and positions each one carefully to avoid knocking walls, catching the ceiling or putting strain on a half-built joint.
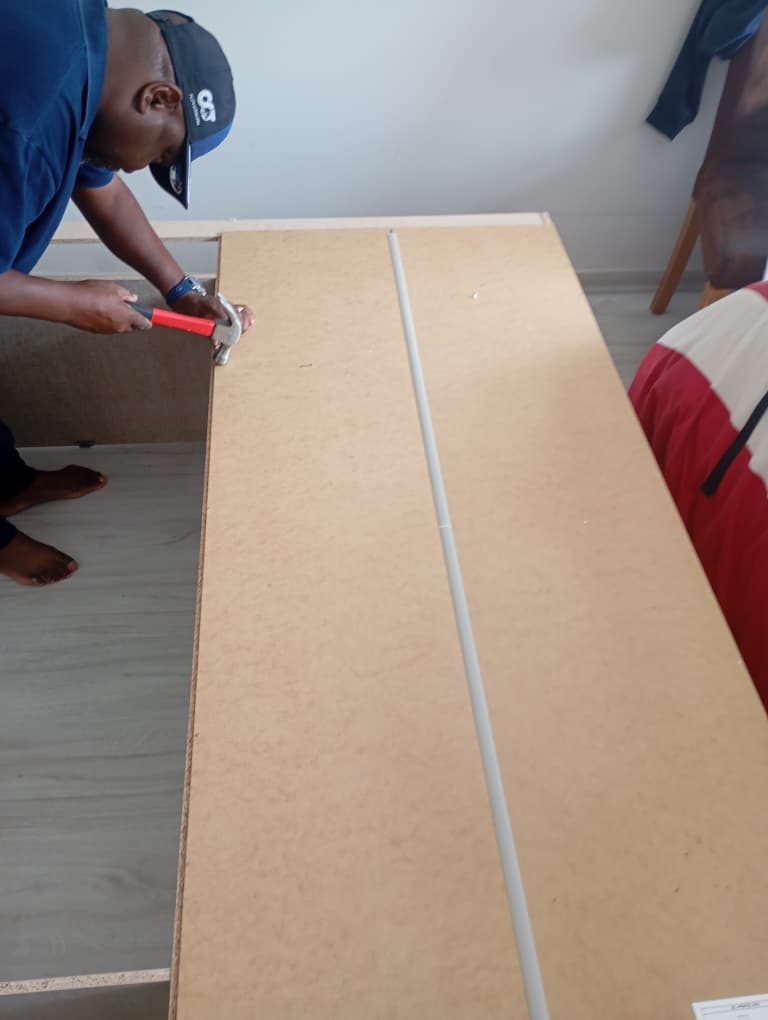
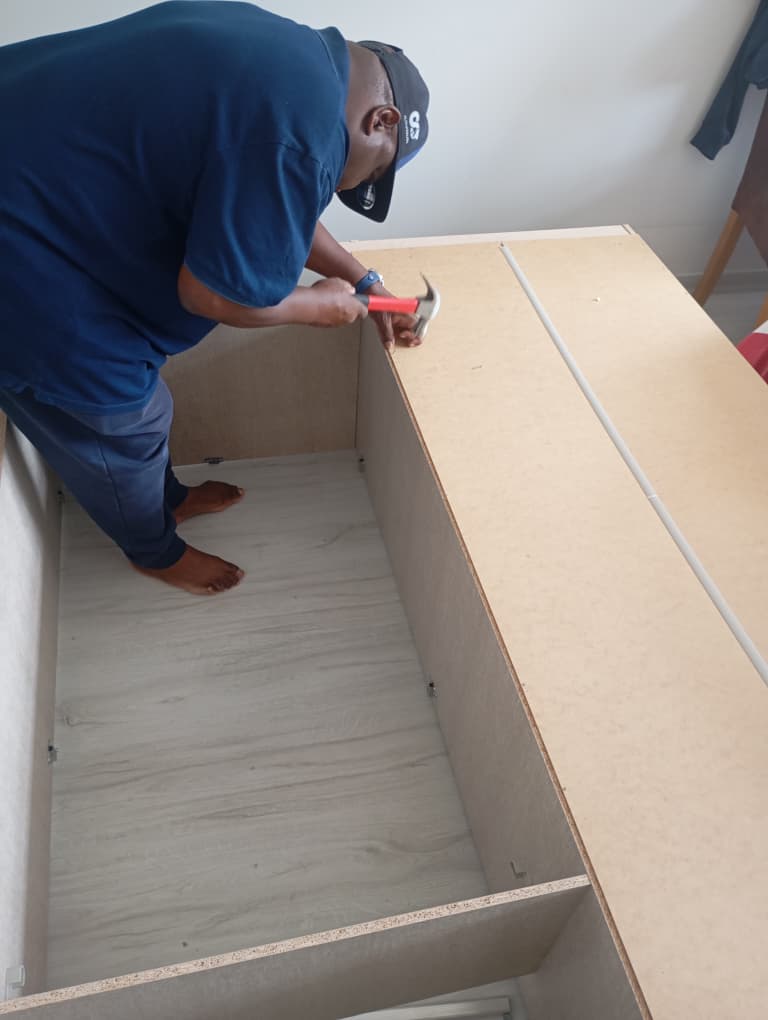
05Nailing on the back board
The thin hardboard back looks like the least important part, but it is what holds a wardrobe square and stops it racking from side to side. It goes on while the carcass is lying flat, with nails spaced evenly along every edge and down the centre divider, so the whole frame is locked in shape before it is stood up.
06The finished wardrobe
Stood up and in position, the wardrobe has its doors hung and adjusted so the gaps line up, the mirrored door sits flush and the two bottom drawers run smoothly. The result is a solid, square wardrobe ready to be filled.
07Where wardrobe builds go wrong
| Stage | What can go wrong | How we avoid it |
|---|---|---|
| Unpacking | Missing or damaged parts found halfway through | Every panel and fixing checked against the booklet first |
| Carcass | Panels fitted the wrong way round, cams overtightened | Pre-drilled holes and edges checked before each joint, cams turned until just tight |
| Back board | Wardrobe out of square, wobbles or racks | Back nailed on with the frame square, evenly along every edge |
| Standing up | Damaged walls, ceilings or joints | Tall panels handled carefully with space cleared first |
| Doors and drawers | Uneven gaps, doors that will not close, sticking drawers | Hinges and runners adjusted until everything lines up and runs freely |
For tall wardrobes we always recommend fixing them to the wall with the anti-tip kit supplied, especially in children’s rooms. We can do this as part of the same visit.
08Flat pack assembly across Watford
We build wardrobes, beds, chests of drawers, desks and office furniture from IKEA, Argos, Wayfair, Dunelm and every other retailer, across Watford and the WD postcodes. See what we build and our guide prices on the flat pack furniture assembly in Watford page, or check the Watford handyman price guide.
Got a flat pack wardrobe waiting in its boxes?
Let us build it for you, properly and square. Fixed written quotes, no call out fee.
